
Here is how you can make your own:
Step 1: Setting up the code
Copy and Paste the following code into an HTML/JavaScript Gadget on your sidebar (or into the HTML portion of a Post, or Page).
<center>
<a href="YOUR BLOG URL" target="_blank"><img border="0" src="YOUR IMAGE URL" width="100%"/></a><br /><input value="<a href="YOUR BLOG URL" target="_blank"><img border="0" src="YOUR IMAGE URL" width="100%" /></a>" onclick="this.select()" type="text" />
</center>
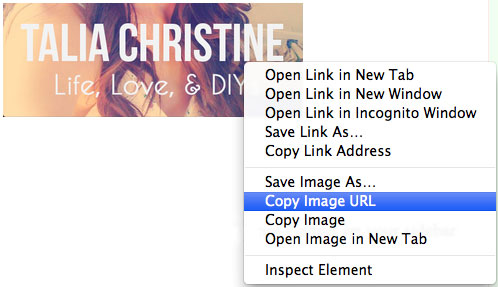
Step 2: Getting your image URL
Upload your button image (I use both Flickr and Photobucket) and copy image URL.
Step 3: Customizing the code to your blog
Paste your image URL into your HTML Gadget where I have indicated in red, and then paste your FULL website/blog URL also where indicated in blue. Save your work and enjoy your new shareable widget!
Hello : ) I'm loving all thins learning and have added a button to my page but the code doesn't appear to be underneath it- is that what;s supposed to happen lol?
ReplyDeleteHi Becky!
DeleteThank you for your question! I've had a look at your blog and it looks like you might be missing some code (when you pasted it in perhaps?)
You'll have to enter in your BLOG URL and IMAGE URL twice where indicated (once in each spot, two times total) and then paste the whole thing into your sidebar widget. One set of the blog URL's and the image URL's is for the button, the other set is for the shareable code portion.
Please let me know if I can answer any more questions or if I can help clarify further! xo
EEK! So I've looked further into this and it seems that Blogger actually changed how the "textarea" code was translated and was deleting the information resulting in a blank box.
DeleteI've updated the entire code and it should work now! Just copy and paste the updated code in the post above and follow the directions as normal now :)
This comment has been removed by the author.
ReplyDeleteHi, I followed these instructions and the code underneath box is blank, am I missing something? I entered everything in twice.
ReplyDeleteThanks, Lauren! The good news is you probably did everything right! I've looked into this and it seems that Blogger actually changed how the "textarea" code was translated and was deleting the information resulting in a blank box.
DeleteI've updated the entire code and it should work now! Just copy and paste the updated code in the post above and follow the directions as normal now :)
thank you, I think I fixed it! : )
ReplyDelete