
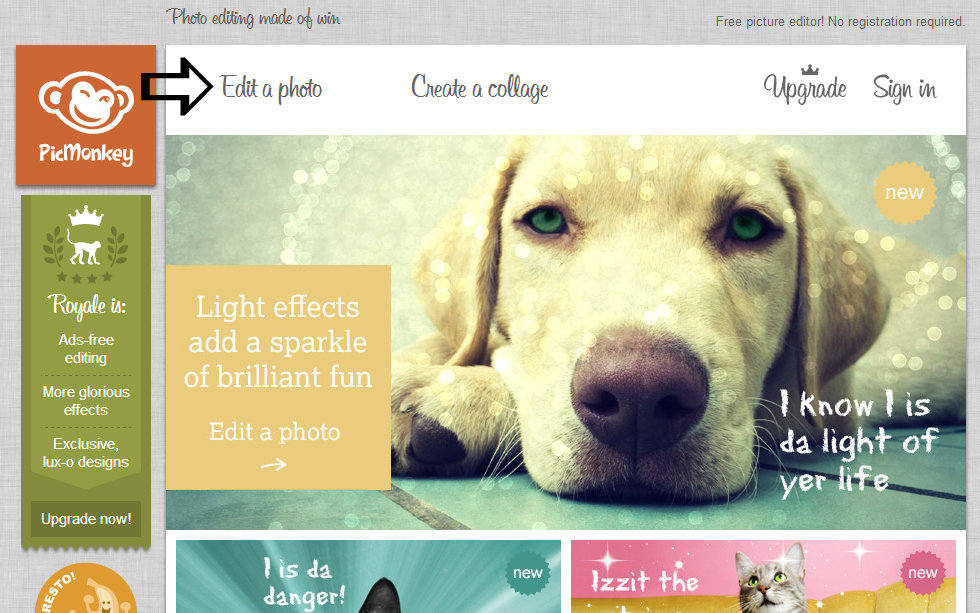
But one of the best free online tools is Picmonkey – which this tutorial will be using to illustrate some simple and effective photo edits.
First click on Edit a photo and select the photo you want to edit.
1. Crop
One quick way to focus attention on the right thing in your photo is by cropping out distractions. Let’s look at an example.
Download the image below for using as a test image for editing now by right clicking on the picture and saving to your computer or desktop.

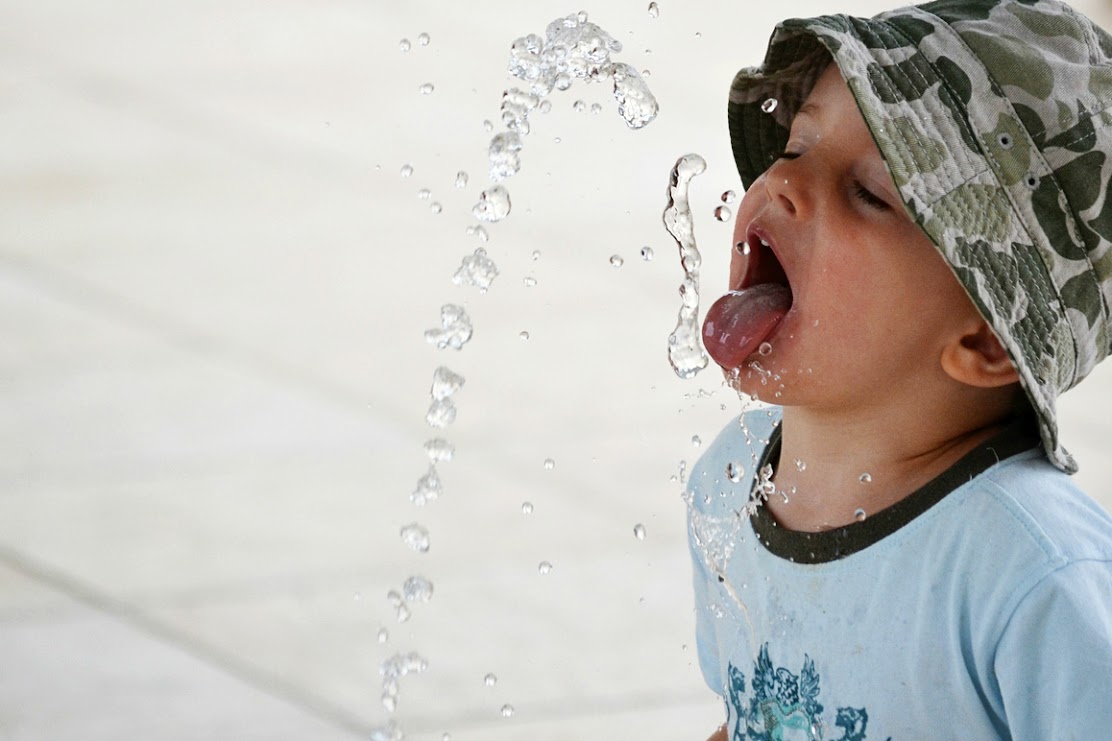
In this example, if we crop out the column at the top right we can focus the attention more on the droplets of water falling on the boy’s tongue.
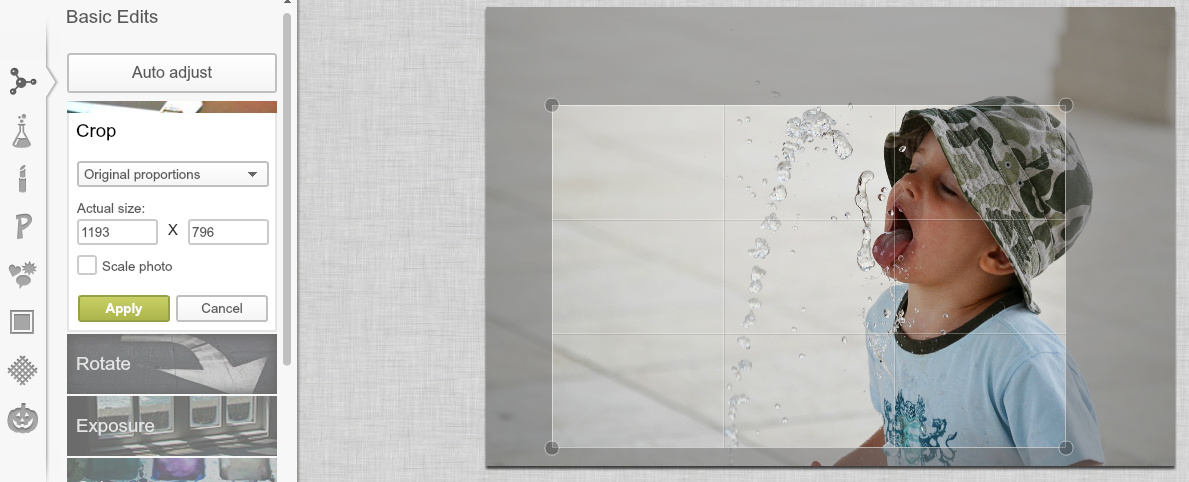
When you crop a photo, it’s always worth using the photographic rule of thirds where possible. You can see from the grid above that the boy’s tongue and the droplets have been deliberately placed at the intersection of one of the thirds. This immediately draws your attention to this part of the photo.
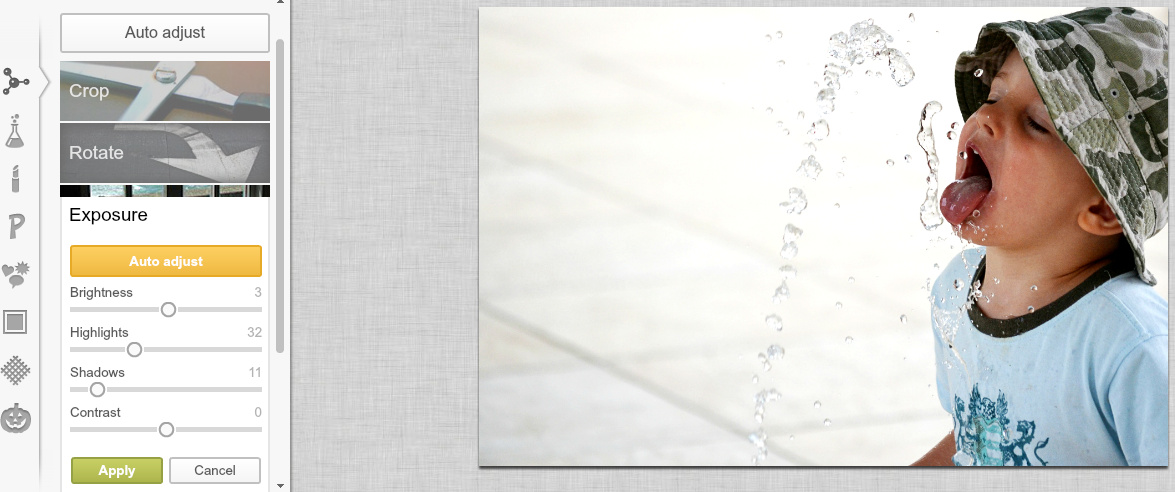
2. Exposure
Even if you have a great shot straight out of the camera, there are always small adjustments to make to a picture to make it really stand out.
Notice the difference once a few small tweaks of exposure have been applied. In Picmonkey you can use either the Auto Adjust button or use the individual sliders manually to see how an individual change affects the finished photo.
3. Filters and effects
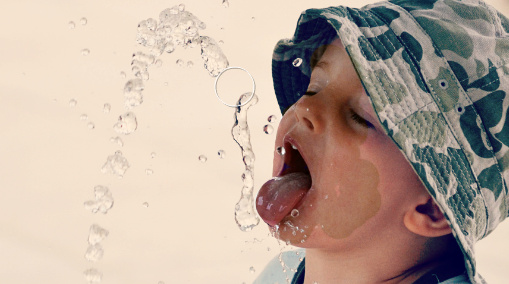
This can give your photo a completely different feel – whether it is a vintage look, dreamy look or something completely unique that you are going for. Here is the same photo processed with 2 different effects.
Tranquil
This is an all-over effect which gives the photo a dusky, dreamy feel. Use the sliders to adjust the effect down. In this example I’ve chosen a 45% fade.
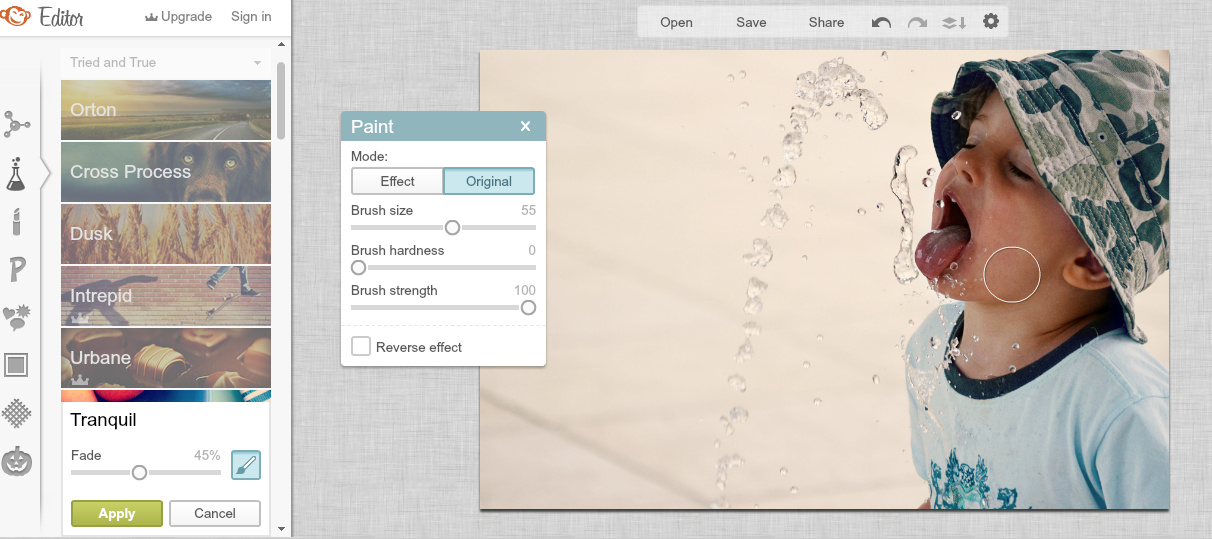
Sometimes if you are applying an effect, you’ll find the effect too strong on an area of the photo, especially if you have a person in the photo as the changes to their skin tone can be too harsh. That’s where the little paintbrush icon comes in. By using the circular brush you can click on the areas of the photo you want to keep as the original look without the filter. I’ve exaggerated the brush strokes here to show how you can paint back in the original colour:
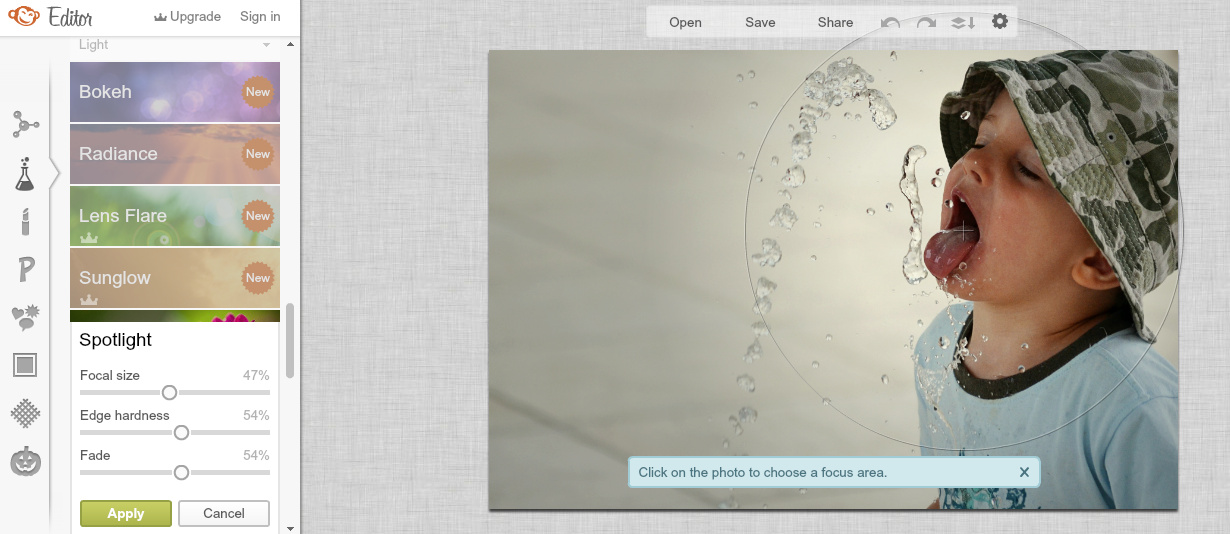
Spotlight
This is a circular effect which allows you to better highlight different areas of your photo.
And the finished version:
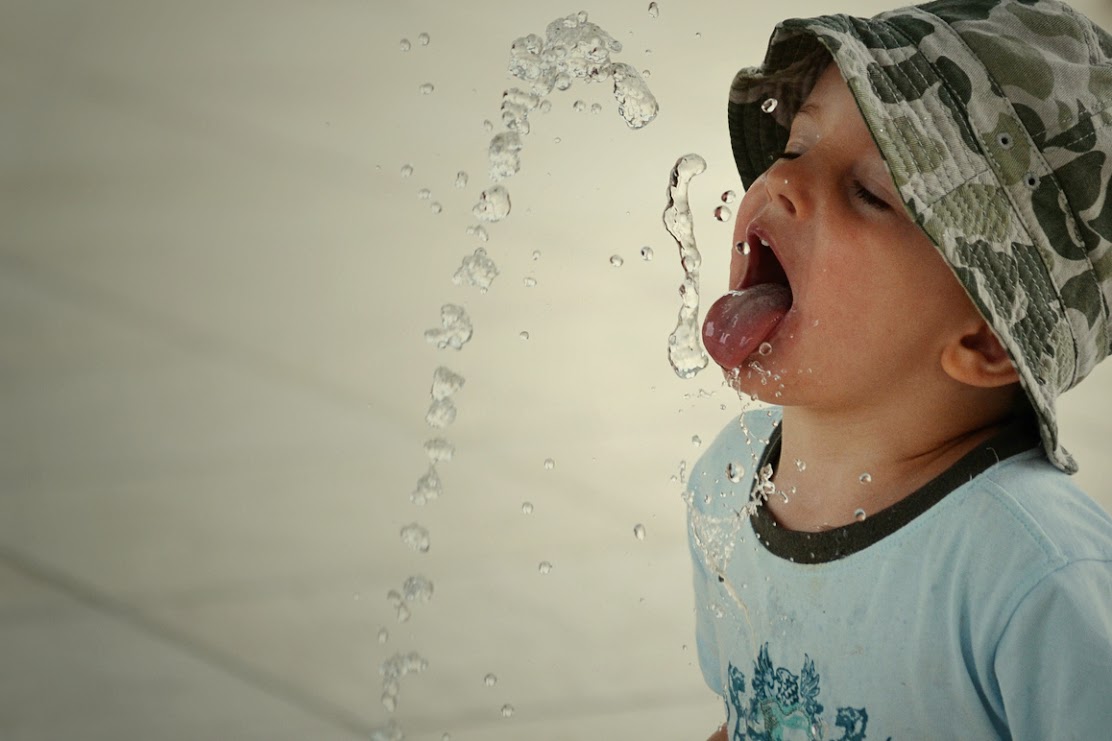
Once you are happy with your edits, save the finished version to your computer.
Good work, guys. One thing: sidebar link says "take a from good to great" - it's missing a word "photo", as in "take a photo from good to great"
ReplyDeleteThanks, Maria! Good spotting. :) I've updated it now
Delete